How to Build a Food Forest One Season at a Time: Fall
If there’s one thing I’ve learned from growing a food forest, it’s that you absolutely do not have to build the whole thing at once.
Actually, I’d argue that you probably shouldn’t.
When you see those gorgeous, established food forests online—fruit trees dripping with apples, berry bushes spilling over pathways, herbs tucked into every empty space—it’s easy to forget that those gardens didn’t look like that in year one.
A food forest is supposed to grow and evolve.
And fall might just be one of the best seasons to start—or expand—one.
Here in the Pacific Northwest, fall brings cooler temperatures, plenty of moisture, and a little breathing room after the craziness of the summer garden. Instead of trying to tackle an entire property in one weekend, this is the season to plant a few long-term pieces, improve the soil, and set yourself up for an even better garden next year.
So grab your boots. We’re building this food forest one season at a time.
First: Stop Trying to Finish Your Food Forest
This was a big mindset shift for me.
A food forest isn’t really something you finish.
Plants grow. Trees create shade where there wasn’t shade before. Chickens find ways into places you were positive they couldn’t reach. Something you planted thrives, while something else decides it absolutely hates the spot you carefully chose for it.
That’s part of it.
Instead of looking at a big empty space and thinking:
“How am I ever going to turn all of this into a food forest?”
Think:
“What can I add this fall?”
Maybe this fall you plant two fruit trees.
Next spring, you add strawberries and herbs underneath them.
Next summer, you discover where the soil stays driest.
Next fall, you add blueberries, currants, or another fruit tree.
Little by little, you’re building an ecosystem instead of simply landscaping a yard.
And that makes the whole project much more affordable, too.
Why Fall Is Such a Great Time to Work on a Food Forest
Fall is planting season for many perennial plants, especially here in the Pacific Northwest.
The intense summer heat is fading, the soil is still relatively warm, and rain is beginning to return. That gives many trees, shrubs, and perennial plants a chance to start establishing roots before winter.
It also means less watering for you.
That’s a win in my book.
Fall is especially useful for working on the “bones” of your food forest—the plants and features that will be there for years.
Think fruit and nut trees, berry bushes, perennial herbs, pathways, mulch, compost, and soil building.
You don’t have to worry about filling every little space yet.
Start with the big pieces.
Step 1: Walk Your Property Before You Plant Anything
Before heading to the nursery and buying every fruit tree that catches your eye—and trust me, I understand the temptation—spend some time simply observing your space.
Where does the sun hit in September and October?
Where does water collect?
Where does the soil dry out quickly?
Which areas are windy?
Where are you already walking?
Where could a tree eventually create too much shade?
Fall is a great time to notice things you might have missed during summer.
And if this is your first year on your property, there is absolutely nothing wrong with waiting before making major decisions.
Observation can save you a lot of digging later.
Step 2: Start With Your Trees
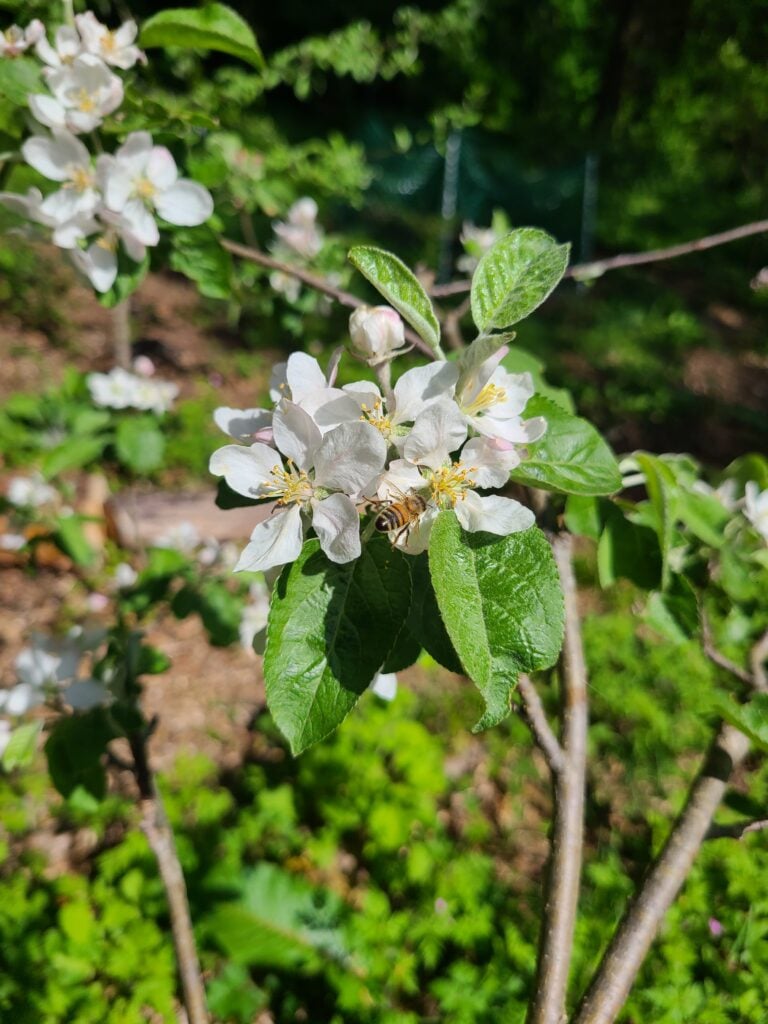
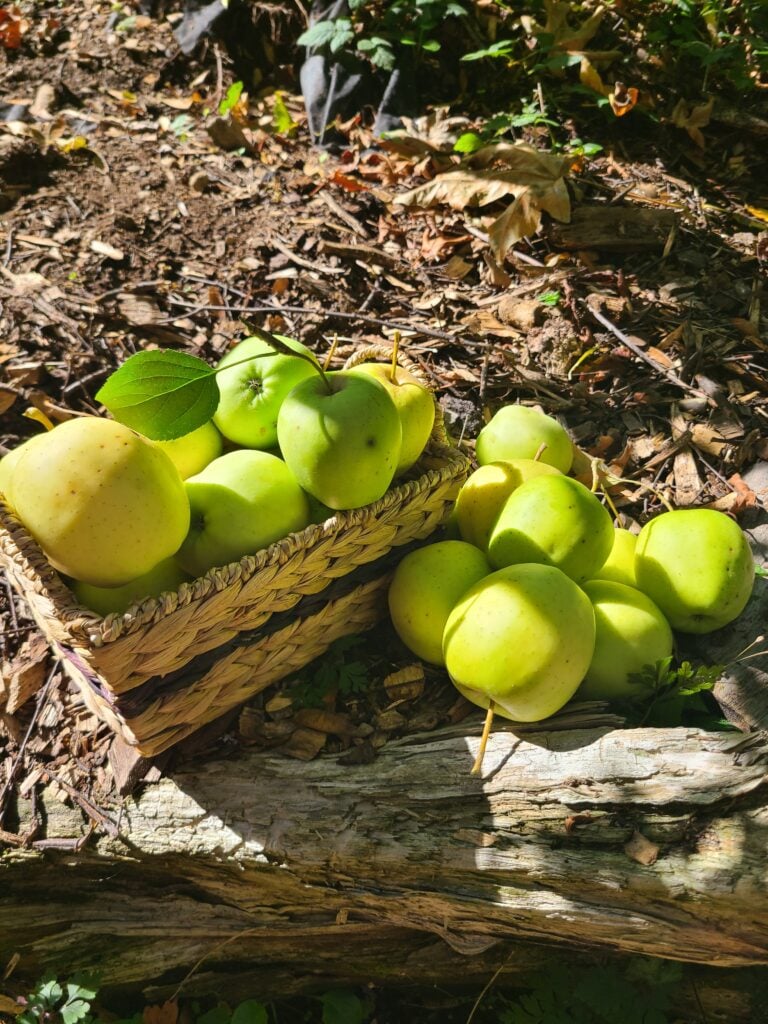
Trees form the upper layer of your food forest, so they’re usually one of the first things I would think about planting.
For a Pacific Northwest food forest, that might include:
- Apple
- Pear
- Plum
- Cherry
- Fig
- Persimmon
- Mulberry
- Hazelnut
- Chestnut
But don’t plant something just because a food forest planting chart tells you to.
Plant what your family will actually eat.
If nobody in your house likes pears, you probably don’t need six pear trees just because they grow well in your climate.
If your kids can eat blueberries faster than you can pick them? That’s something worth making room for.
Food forests are beautiful, but ultimately, I want mine to feed us.
Don’t Forget Pollination
Before buying fruit trees, check whether the variety is self-fertile or needs another compatible variety nearby for pollination.
This is one of those tiny details that’s very easy to overlook when you’re standing at the nursery dreaming about homemade apple pie.
Step 3: Add the Shrub Layer
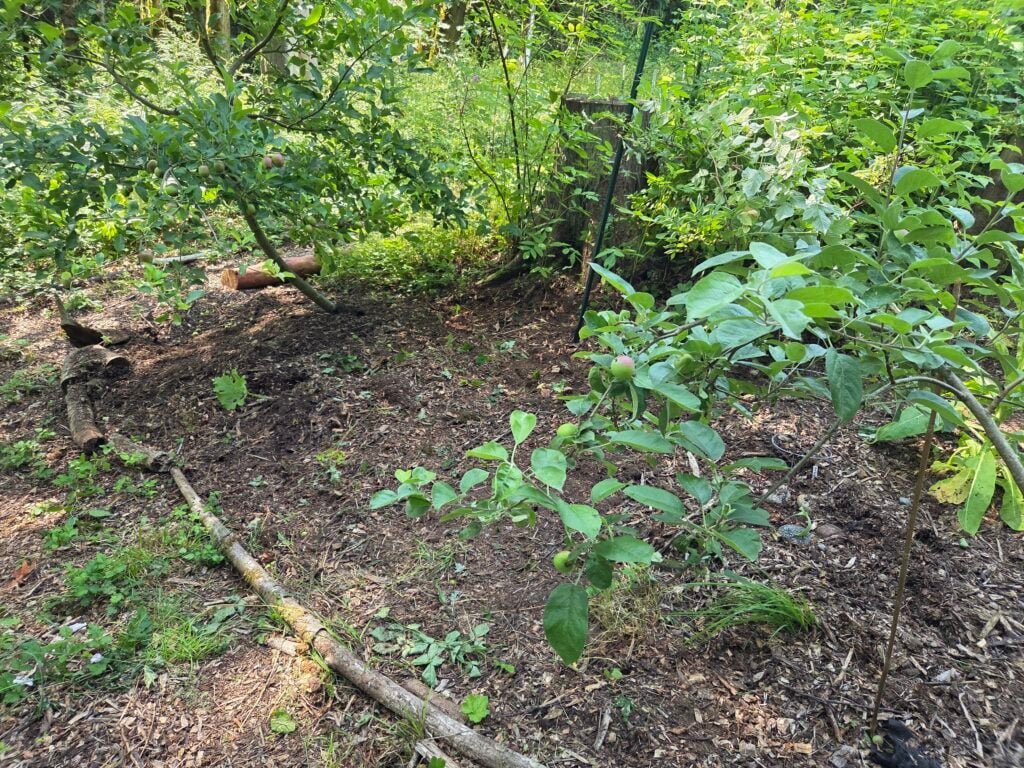
Once you’ve figured out your larger trees, start thinking about what can grow around and between them.
Berry bushes are PERFECT for this.
Depending on your growing conditions, you could add things like:
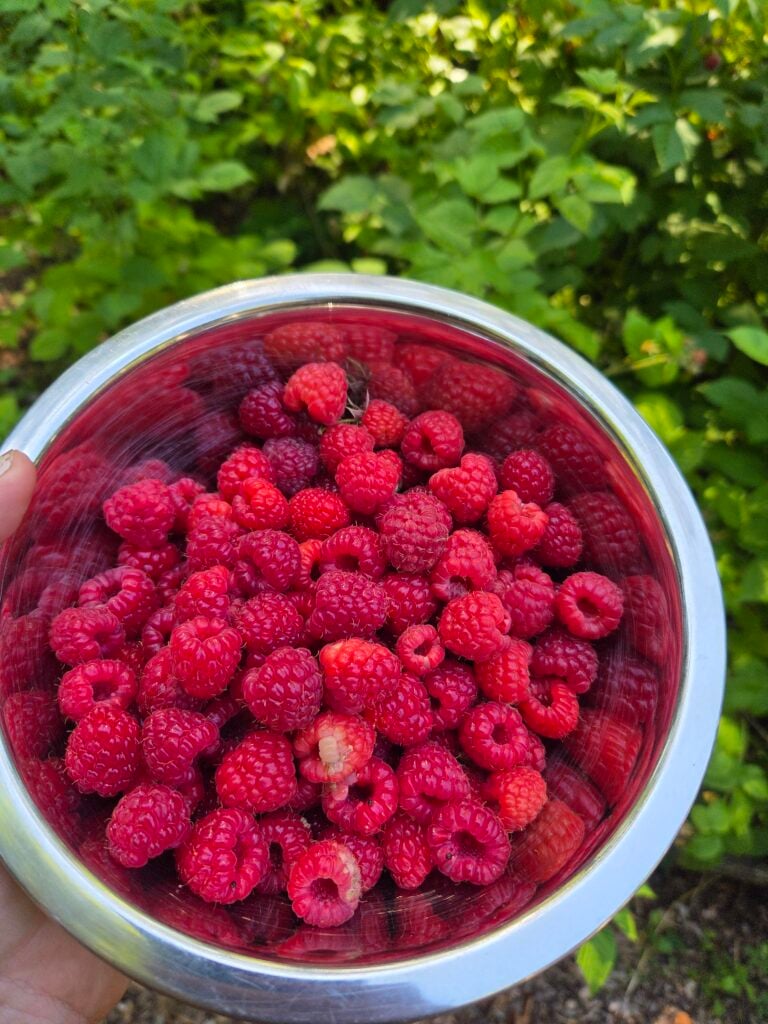
Blueberries, raspberries, currants, gooseberries, elderberries, or honeyberries.
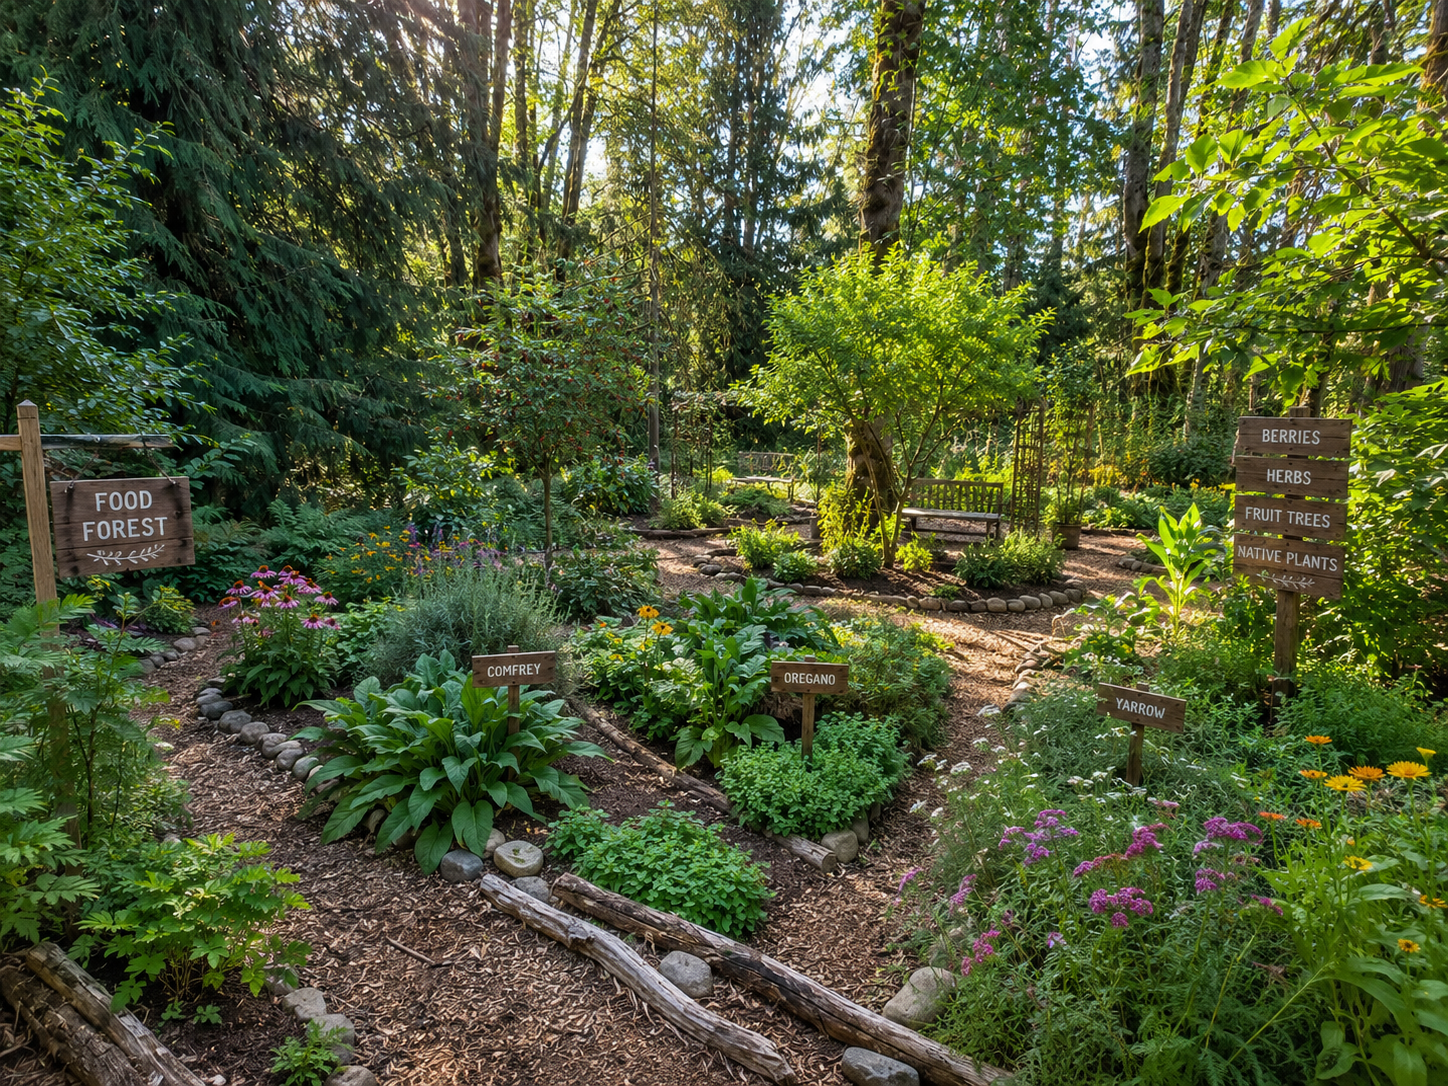
One of my favorite things about food forests is realizing how much food can come from a relatively small area when you start thinking vertically.
Instead of:
Tree.
Empty ground.
Tree.
Empty ground.
You begin creating layers.
A fruit tree grows above a berry bush.
Strawberries spread underneath.
Chives pop up nearby.
Nasturtiums trail along the edge.
Suddenly that little section is producing several different things.
Step 4: Plant Perennial Herbs
Fall is also a great time to think about herbs that can return year after year.
Depending on your climate and location, consider:
- Chives
- Oregano
- Thyme
- Sage
- Rosemary
- Mint
- Lemon balm
- Lavender
- Lovage
Just be careful with the enthusiastic spreaders.
I’m looking at you, mint.
Some plants are wonderful additions to a food forest precisely because they spread—but you’ll still want to think about whether you’re okay with them wandering.
Because they will wander.
Step 5: Plant Garlic
Garlic deserves its own section because fall garlic planting has become one of those garden chores that feels like putting a little present in the ground for my future self.
You plant it when the garden is winding down.
Then spring comes, and suddenly there it is.
Garlic can be tucked into sunny areas around the food forest, garden beds, or designated perennial areas.
And unlike some of the bigger food forest projects, you can plant quite a bit without spending much money.
Step 6: Think About Groundcovers
Bare soil doesn’t stay bare for long.
If you don’t choose what’s going to grow there, nature usually chooses for you.
And nature’s choice may be something you’re going to spend the next five years pulling. California blackberries – I’m looking at you!!
Groundcovers can help suppress weeds, protect the soil, retain moisture, and sometimes give you another harvest.
Some edible or useful options include:
Strawberries, creeping thyme, clover, nasturtiums, violets, and low-growing herbs.
You don’t necessarily have to plant all of these in fall.
Instead, use fall to identify where you’re going to need groundcovers and start experimenting with a few.
Step 7: MULCH, MULCH, MULCH
If there’s one inexpensive thing you can do this fall that your future food forest will thank you for, it’s covering bare soil.
Leaves are basically free garden gold this time of year.
Instead of bagging them up and sending them away, use them.
Depending on the area, I like materials such as:
- Fallen leaves
- Wood chips – get on the list for ChipDrop
- Straw
- Compost
- Aged animal bedding
- Grass clippings in appropriate layers
Mulch protects the soil, feeds soil organisms as it breaks down, helps retain moisture, and makes weeds much easier to manage.
And the best part?
You don’t have to wait until your food forest is completely planted.
You can start improving the soil now.
If you know an area will eventually become part of your food forest, cover it this fall and let nature start doing some of the work for you.
Step 8: Make Leaf Mold
Speaking of free resources…
Don’t underestimate leaves.
Pile fallen leaves somewhere they can slowly break down. Over time, they’ll turn into a dark, crumbly material that’s fantastic for improving soil.
It’s not instant.
But that’s exactly the point of building a food forest.
You’re thinking years ahead.
A pile of leaves you collect this fall could eventually help feed the plants you add to your food forest later.
That’s the kind of gardening math I like.
Step 9: Start Creating Pathways
You don’t need fancy stone pathways running through your food forest.
Especially in the beginning.
Before spending money, pay attention to where you naturally walk.
Those are probably your paths.
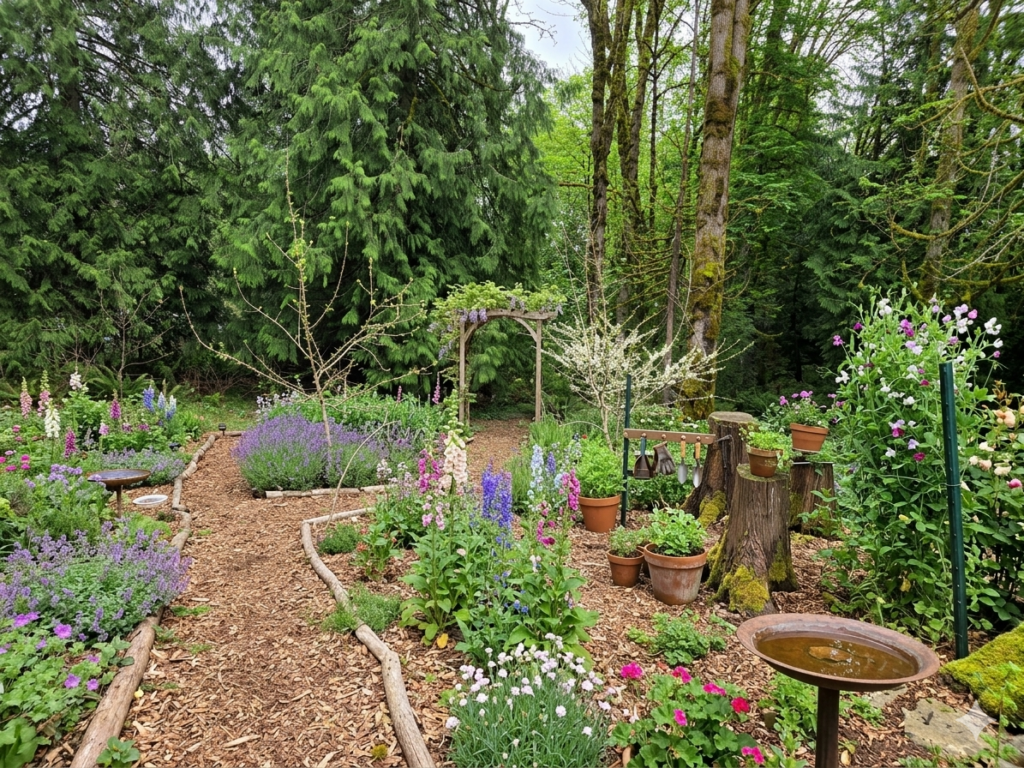
You can cover them with wood chips or another inexpensive material and allow the food forest to grow around them.
Having designated paths also keeps you from constantly compacting the soil around your plants.
And as the garden becomes fuller, pathways make the whole space feel intentional—even when everything is growing a little wild.
Step 10: Leave Some Things Alone
This might be one of the hardest lessons.
Not every inch needs to be controlled.
A food forest isn’t supposed to look like a perfectly manicured suburban flower bed.
Let some leaves fall.
Leave some plant stems through winter.
Allow organic matter to break down.
Give insects places to overwinter.
Let the soil stay covered.
Of course, you’ll still want to remove diseased plant material and deal with serious pest problems.
But otherwise?
A little mess can be a good thing.
Nature doesn’t clean up the forest every October.
What I Would Plant the First Fall
If I were starting a brand-new food forest this fall and didn’t want to spend a fortune, I would keep it incredibly simple.
I’d start with one or two fruit trees, a couple berry bushes, garlic, and maybe a few perennial herbs.
Then I’d mulch the future growing areas heavily.
That’s it.
You don’t need 47 plants.
You don’t need a professionally designed permaculture plan.
You don’t need to spend thousands of dollars.
Get your trees started.
Start improving the soil.
Then watch what happens.
Fall Is Also the Season to Divide What You Already Have
One of the cheapest ways to expand a food forest is to stop thinking that every plant has to come from the garden center.
Look around your property.
Do you already have strawberries sending out runners?
Raspberries popping up in new places?
Chives that can be divided?
Oregano that’s gotten huge?
Comfrey that can be propagated?
Fall can be a wonderful time to move, divide, or propagate established plants when appropriate for the species and your local conditions.
You can also trade plants with friends and neighbors.
That’s how a food forest can start expanding without your wallet crying every time you walk past the nursery.
Don’t Forget About Spring While You’re Working This Fall
This is where building a food forest season by season gets really fun.
You’re not only planting for today.
You’re preparing spaces for what’s coming next.
While you’re spreading mulch this fall, think:
“Maybe strawberries could go here next spring.”
When you’re planting an apple tree:
“Maybe I’ll add chives, flowers, and herbs around this next year.”
When you see a wet corner of the property:
“Okay. Maybe that’s NOT where the lavender should go.”
Take pictures.
Make notes.
You will absolutely forget some of these observations by March.
Ask me how I know.
Your Fall Food Forest Checklist
If you want to keep things simple this season, focus on these jobs:
Observe → Plant → Mulch → Prepare → Wait.
You could plant a fruit tree.
Add a berry bush.
Plant garlic.
Divide a perennial.
Collect leaves.
Spread wood chips.
Start compost.
Create one pathway.
Prepare one new growing area for spring.
That’s progress.
Even if you only accomplish one of those things this fall, your food forest will be farther along than it was last season.
A Food Forest Is Built in Years, Not Weekends
I think this is what I love most about growing a food forest.
There’s no rush.
Every year, you get to add another layer.
You learn which plants love your property and which ones don’t. You discover little microclimates you didn’t know existed. Your trees get bigger. The berries spread. The soil improves.
Eventually, you look around and realize that the little fruit tree you planted years ago isn’t so little anymore.
There are strawberries underneath it.
Bees are buzzing around the herbs.
Birds are hopping through the bushes.
And you’re walking outside with a basket to gather food from something you built one season at a time.
So if you’re looking at an empty—or slightly chaotic—piece of land this fall and dreaming about turning it into a food forest, don’t worry about finishing it.
Just plant the next thing.
Then let it grow.
Next up in the series: How to Build a Food Forest One Season at a Time: Winter—when we’ll talk about planning, pruning, bare-root plants, propagation, and preparing for spring.