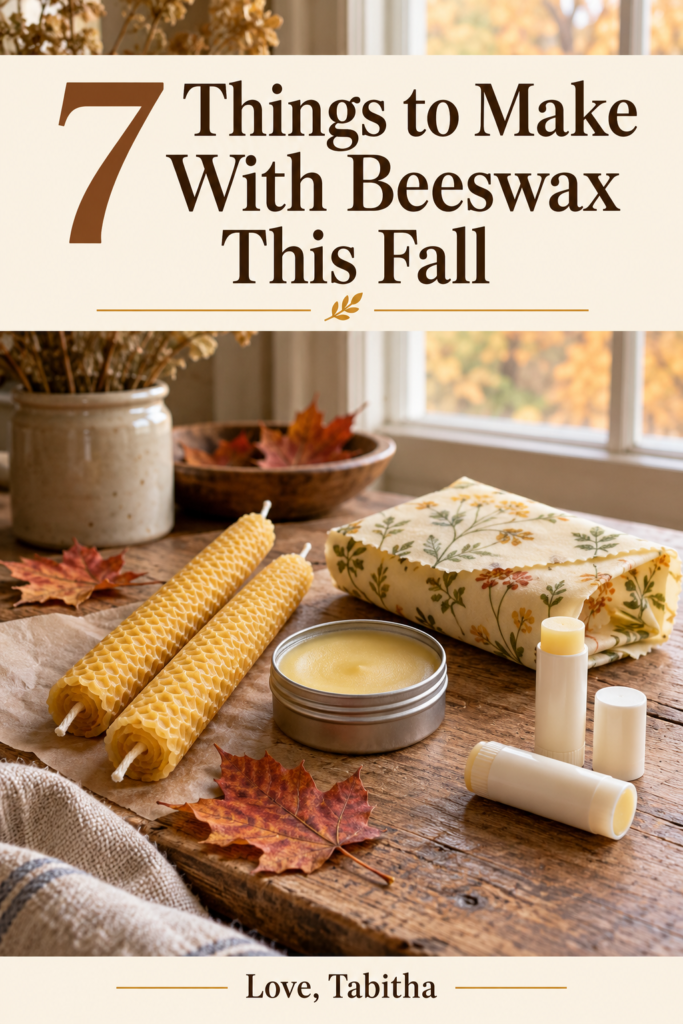
7 Things to Make With Beeswax This Fall
There’s something about the first chilly stretch of fall that makes me want to make things. A pot of soup, a loaf of bread, a little something for the house—apparently, cooler weather turns my kitchen counter into a craft table.
Beeswax fits right into that mood. It has that lovely, faint honey scent, a little goes a long way, and it’s useful for much more than candles. You can turn it into something for dry hands, a well-used cutting board, or the pile of Christmas gifts you keep promising yourself you’ll start early.
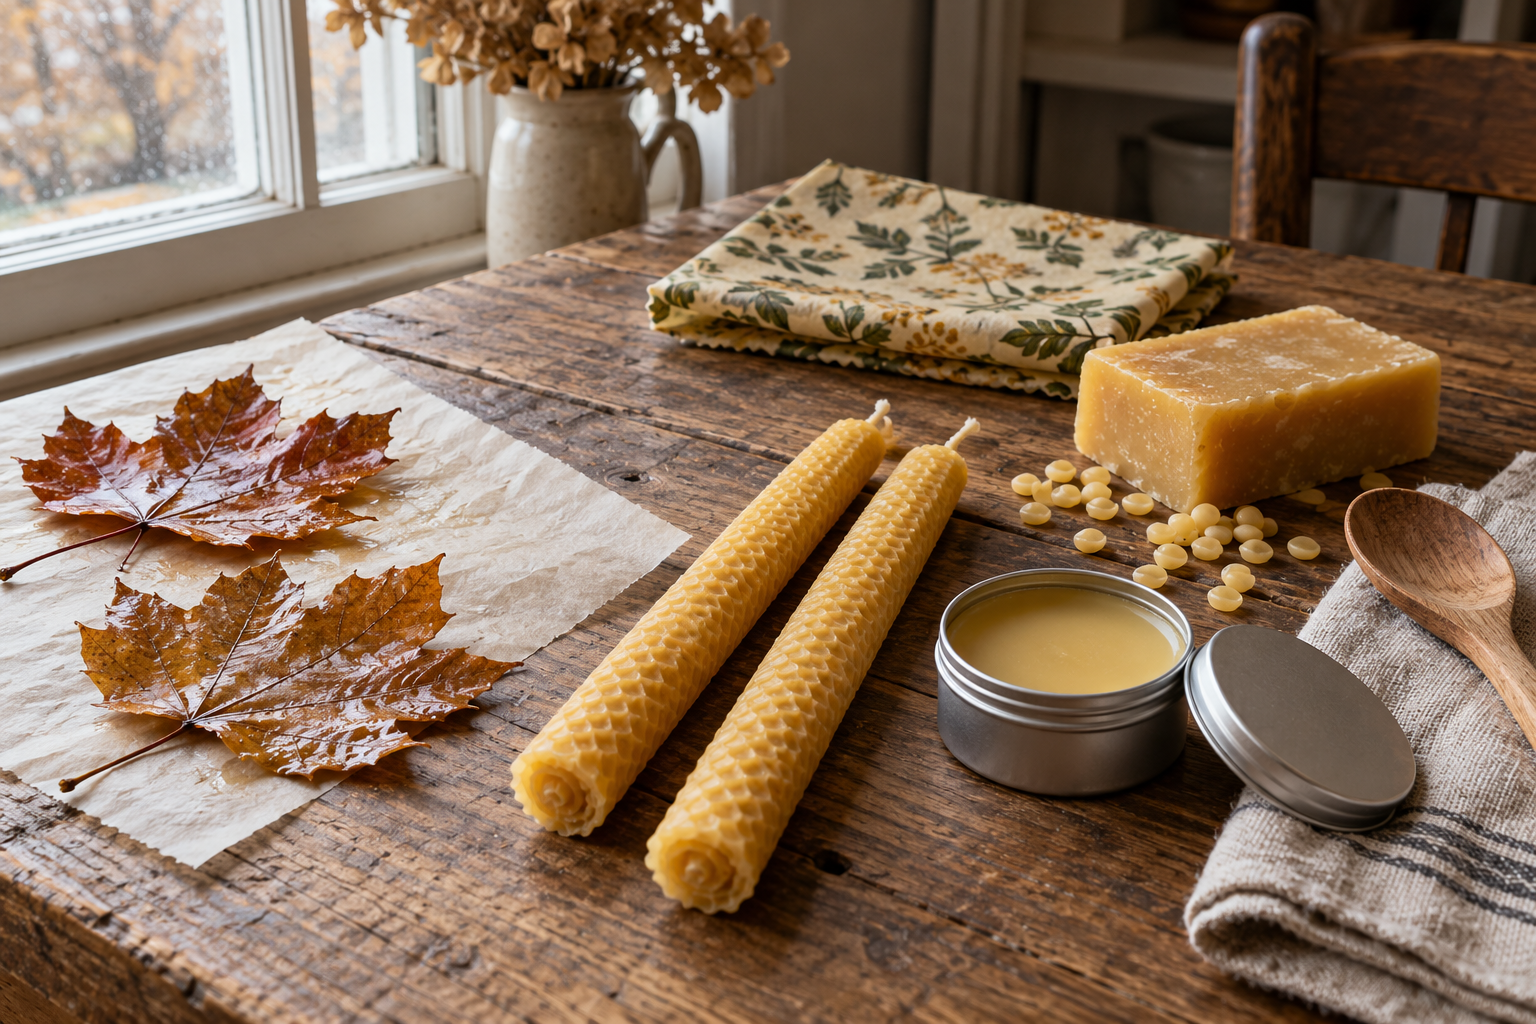
Whether you have wax from your own hives or a bag of beeswax pellets waiting in the cupboard, here are seven satisfying ways to put it to work this fall.
Before You Start: A Few Supplies to Gather
You don’t need an entire craft room for these projects. Most use a handful of ingredients and equipment you may already have.
A few helpful supplies include:
- Clean, filtered beeswax or beeswax pellets
- A double boiler or heat-safe melting pitcher
- A kitchen scale
- Small tins, jars, or silicone molds
- An old spoon or stirring utensil
- A tray or parchment paper to protect your work surface
If you’re using wax from your own hives, clean and filter it first. Little bits of hive debris are much nicer left out of your lip balm.
Melt beeswax gently over a double boiler, keep water out of your mixtures, and never leave melting wax unattended. Wax is flammable, so avoid direct heat. I also recommend setting aside a few tools just for wax projects; cleaning hardened beeswax out of your favorite measuring cup is not how you want to spend a Saturday.
1. Rolled Beeswax Candles for Cozy Evenings
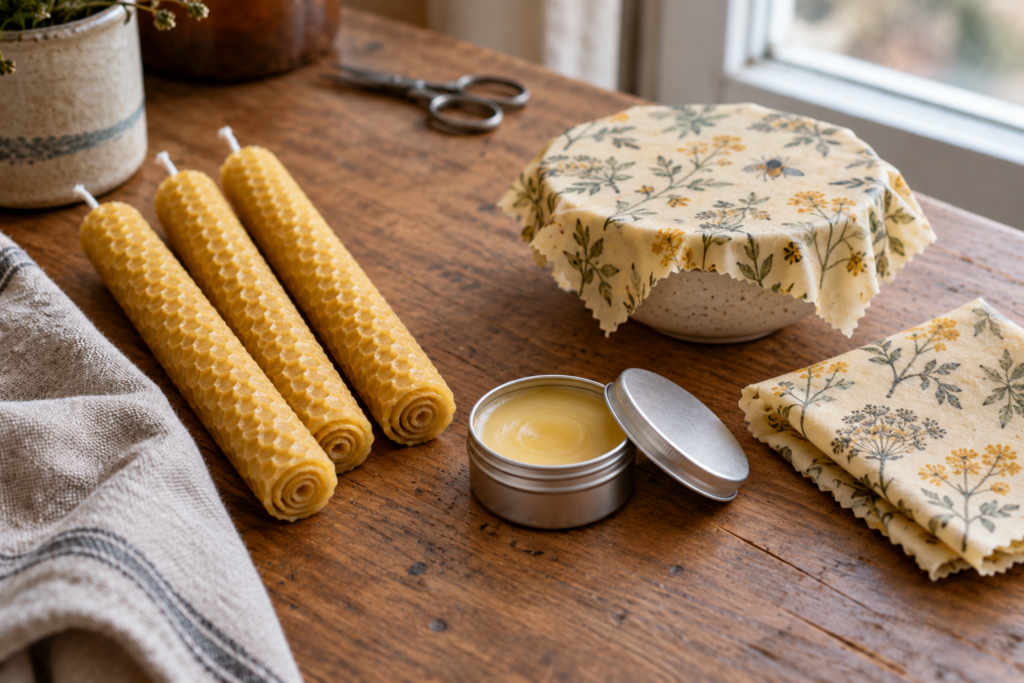
If you want an easy first project, start here. Rolled beeswax candles don’t require a pot of melted wax, and they look lovely on a fall dinner table.
They’re also a fun excuse to turn off the overhead lights when dinner happens to be leftovers.
What you’ll need:
- Beeswax honeycomb sheets
- Cotton wick recommended for rolled beeswax candles
- Scissors
- A ruler
How to make them:
- Let your beeswax sheets come to room temperature so they’re flexible.
- Cut a sheet to your desired candle height.
- Lay the wick along one edge, leaving enough exposed at the top to trim before burning.
- Fold the edge snugly over the wick, then roll the sheet evenly.
- Gently press the final seam into place.
Follow your supplier’s guidance for wick size, candle diameter, and trimming. An incorrectly sized wick can affect how the candle burns.
I like the simple look of natural golden wax tied with cotton ribbon for gifting. Remove the ribbon before lighting, and use a stable, noncombustible candleholder.
2. A Simple Beeswax Hand Balm
Fall is hard on my hands. Between garden cleanup, washing up, and the weather turning colder, they can feel rough before winter even gets here.
A beeswax balm is handy to keep beside the sink or use before bed. It’s richer than a typical lotion, so start with a small amount.
What you’ll need:
- 1 part beeswax
- 4 parts jojoba oil or sunflower oil, by weight
- A clean, completely dry tin or jar
For a small batch, try 10 grams of beeswax and 40 grams of oil.
How to make it:
- Gently melt the beeswax and oil together in a double boiler.
- Stir until fully combined.
- Carefully pour into your container.
- Let it cool completely before putting on the lid.
This makes a firm, simple balm. For a softer version, remelt it and add a little more oil.
I’d leave this one unscented, especially if your hands are already feeling sensitive. Patch-test before using, and keep it out of broken or irritated skin.
A small tin would also make a thoughtful addition to a gardener’s Christmas gift.
3. Beeswax Wraps for Your Fall Kitchen
A bowl of leftover roasted vegetables, half an apple, a chunk of cheese—there’s always something in the kitchen that needs covering.
Homemade beeswax wraps are useful for those little jobs, and making them is a good way to use pretty cotton fabric scraps.
What you’ll need:
- Clean, lightweight, tightly woven 100% cotton fabric
- Filtered beeswax
- Parchment paper
- A rimmed baking sheet
- A brush reserved for crafting
How to make them:
- Wash, dry, and cut your fabric into useful sizes.
- Line a baking sheet with parchment and lay the fabric flat.
- Sprinkle a small amount of grated beeswax or pellets evenly over it.
- Place in an oven set to about 170°F, watching closely, just until the wax melts.
- Remove the tray carefully and use the brush to distribute the melted wax.
- Lift the fabric with tongs and let it cool.
Start with less wax than you think you need. You can add more to dry patches, but too much leaves a heavy, flaky coating.
Plain beeswax wraps won’t have quite the same cling as versions made with added resin. They’re still useful for folding around food or securing over a bowl with a band.
Wash with cool water and mild soap, then air-dry. Keep them away from heat, don’t use them for raw meat or fish, and let food cool before covering it.
4. Beeswax Fire Starters for the First Chilly Nights
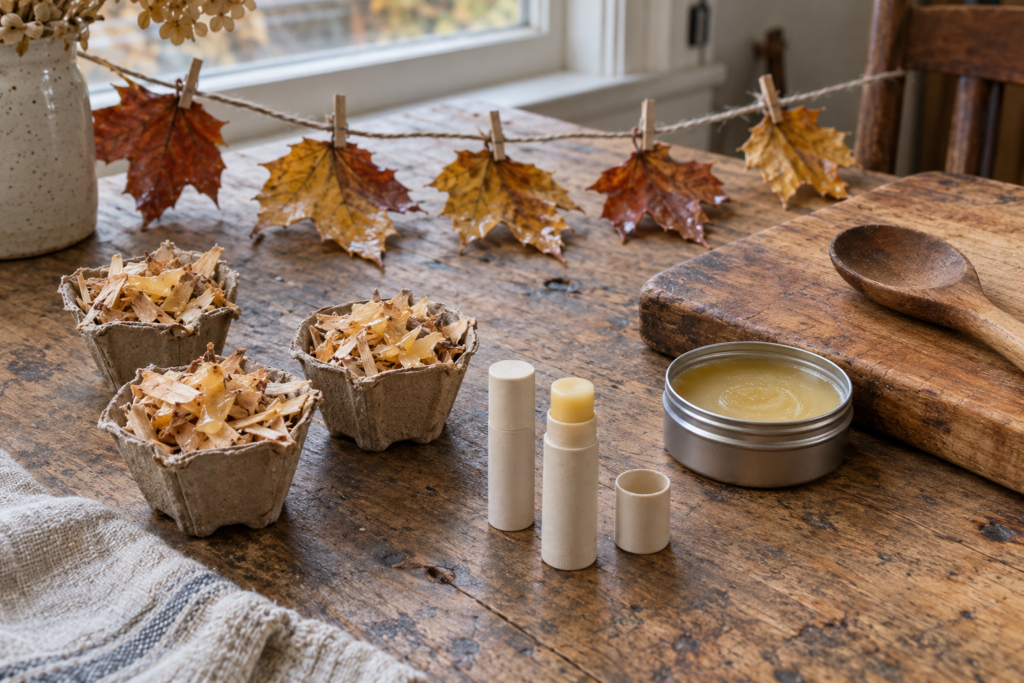
If you have a wood-burning fireplace, wood stove, or outdoor fire pit, homemade fire starters are a practical way to use a little leftover wax.
They’re especially nice to have ready for that first evening when everyone decides it’s finally cold enough for a fire.
What you’ll need:
- Plain paper egg carton
- Clean, dry, untreated wood shavings
- Melted beeswax
- A protected work surface
How to make them:
- Place the egg carton on a protected tray.
- Loosely fill each cup with wood shavings.
- Carefully drizzle a small amount of melted beeswax over the shavings—enough to help bind them, rather than filling the cup solid.
- Let everything cool completely.
- Separate the cups and store in a cool, dry place away from heat.
Use only where your fireplace, stove, or fire pit manufacturer permits wax-based starters. These are for starting a properly contained wood fire; they aren’t candles and shouldn’t be burned as decorations.
Skip the glitter, fragrance oils, and decorative additions. Plain works beautifully here.
5. Cutting Board and Wooden Spoon Conditioner
This might be the most useful project on the list, especially once fall baking and holiday cooking get going.
Wooden spoons, cutting boards, and rolling pins can start looking dry after plenty of washing. A simple beeswax conditioner helps maintain them and brings out the wood’s color.
What you’ll need:
- 1 part food-grade beeswax
- 4 parts food-grade mineral oil, by weight
- A clean, dry jar or tin
A batch using 10 grams of beeswax and 40 grams of food-grade mineral oil is a good starting point.
How to make it:
- Gently warm the beeswax and mineral oil in a double boiler.
- Stir until the wax melts.
- Pour into your container and let it cool.
To use, rub a small amount onto clean, completely dry wood. Leave it for several hours or overnight, then buff away the excess with a clean cloth. Follow the care instructions for your particular board.
Use food-grade mineral oil made for this purpose, and skip essential oils or fragrance. Ordinary cooking oils can become rancid.
Pair a little jar with a wooden spoon and a handwritten recipe, and you have a useful homemade gift that doesn’t require a huge budget.
6. Beeswax Lip Balm for Windy Fall Days
Somehow, lip balm disappears faster once jacket season starts. There’s one in a pocket, one in a bag, and absolutely none within reach when you need it.
Making a small batch gives you enough to spread around—and a few extras for gifts.
What you’ll need:
- 1 part beeswax
- 1 part shea butter
- 2 parts jojoba oil, by weight
- Lip balm tubes or small tins intended for cosmetics
For example, use 5 grams of beeswax, 5 grams of shea butter, and 10 grams of jojoba oil.
How to make it:
- Gently melt all three ingredients together in a double boiler.
- Stir until smooth.
- Carefully pour into clean, dry containers.
- Let the balm set completely before capping.
Keep the first batch plain. You don’t need cinnamon oil, pumpkin spice, or a splash of vanilla extract to make it feel seasonal. Baking ingredients aren’t automatically suitable for lip products, and some essential oils can irritate lips.
This homemade balm doesn’t provide sun protection, so keep an SPF lip product handy for time outdoors.
7. Beeswax Leaf Dipping for a Fall Garland
This is the project to choose when you want to make something pretty simply because it’s fall.
A light coating of beeswax can help autumn leaves stay supple a little longer and deepen their colors. They won’t last forever, but they make a lovely seasonal garland.
What you’ll need:
- Clean, dry, recently fallen leaves that are still flexible
- Melted beeswax
- Tongs
- Parchment paper
- Twine and small clips
How to make them:
- Gather leaves in different shapes and colors.
- Make sure they’re dry and free of dirt.
- Gently melt beeswax in a double boiler.
- Use tongs to dip each leaf briefly, keeping your fingers clear of the hot wax.
- Let excess wax drip back into the container.
- Place the leaves on parchment to cool.
- Clip the stems to twine once they’ve set.
A few leaves along a shelf or across a mirror are enough. You don’t have to turn the entire living room into an autumn display.
Keep waxed leaves away from candles, fireplaces, heaters, and other heat sources. If children are helping, let an adult handle the hot wax while they choose leaves and arrange the finished garland.
Which Beeswax Project Should You Try First?
For a quiet afternoon craft, I’d choose the rolled candles. For something you’ll reach for all season, make the hand balm or cutting board conditioner. And if you’ve just come home from a walk with a pocketful of beautiful leaves, you already know which project is calling your name.
You don’t need to make all seven. Pick one, clear a little space on the counter, and see how it goes.
Although I will warn you: once you’ve made one little tin of beeswax balm, it’s surprisingly easy to start looking around the house for other things that need a homemade version.
Have you made anything with beeswax? Tell me what you love making—or which project you’d like to try this fall—in the comments!